Picking the right way to put a design on a t-shirt can feel like a puzzle. You’ve got a cool idea, maybe for a band, a family reunion, or just a funny saying. But how do you get it onto the shirt so it looks good and lasts? We’re going to break down two popular methods, DTG vs screen print, to help you figure out which one is the best fit for your project. It’s not as complicated as it sounds, and knowing the basics will save you time and maybe some headaches.
Key Takeaways
- Screen printing is great for big orders with simple, bold designs because it gets cheaper the more you print. It’s also really durable.
- Direct-to-Garment (DTG) printing is awesome for detailed, full-color images and is perfect if you only need a few shirts or just one custom piece.
- DTG printing uses inkjet technology to put ink directly onto the fabric, making it good for complex graphics without the setup hassle of screens.
- Screen printing involves pushing ink through a stencil (screen) for each color, which works well for vibrant, solid colors but can be pricey and slow for many colors or small runs.
- When comparing DTG vs screen print, think about your order size and design complexity: big batches with few colors lean towards screen printing, while detailed, small batches are better for DTG.
1. Direct-to-Garment Printer
Alright, let’s talk about the Direct-to-Garment printer, or DTG as the cool kids call it. Think of it like a fancy inkjet printer, but instead of printing on paper, it’s printing straight onto your t-shirt. It’s pretty neat because it uses special water-based inks that soak right into the fabric fibers. This means you can get super detailed designs, like those intricate logos or even photos, printed without any of that plasticky feel you sometimes get with other methods.
This method is fantastic for small runs and custom jobs. If you’ve got a wild idea for a single shirt or just need a few for your band, DTG is your buddy. No need to set up screens for each color, which saves a ton of time and cash when you’re not ordering a hundred shirts.
Here’s the lowdown on why you might pick DTG:
- Super detailed prints: Great for complex artwork and gradients.
- Soft feel: The ink blends right in, so it feels like part of the shirt.
- No minimum order: Perfect for one-offs or small batches.
- Vibrant colors: Can handle a huge spectrum of colors.
However, it’s not all sunshine and rainbows. DTG prints might not last quite as long as some other methods, especially if you’re a frequent washer. Also, for really big orders, it can get a bit pricey compared to the old-school screen printing.
DTG is like the digital artist of the t-shirt world. It’s precise, flexible, and great for bringing unique visions to life, especially when you don’t need a massive quantity.
If you’re looking for something unique, maybe a shirt with a cool graphic like this Christian Faith Scripture design, DTG is definitely worth considering. It really shines when the design is the star of the show.
2. Inkjet Printer
Okay, so you’ve probably got an inkjet printer sitting around your house, right? The one that chokes on ink cartridges like a toddler on a juice box? Well, guess what? That same basic technology, just way, way beefier and way, way more expensive, is what powers Direct-to-Garment (DTG) printing. Think of it as the super-sized, industrial-strength cousin of your home printer. Instead of spitting ink onto paper, these bad boys spray it directly onto fabric. It’s pretty neat, honestly.
This method is fantastic for getting super detailed designs onto shirts without a ton of fuss.
Here’s the lowdown on how it generally works:
- Prep the Shirt: Sometimes, a pre-treatment spray is applied to help the ink stick and look vibrant, especially on darker shirts. It’s like giving the fabric a little primer coat.
- Load and Print: The shirt gets loaded onto a special flatbed, and the printer goes to town, laying down the ink layer by layer. It’s a lot like printing a photo, but on a T-shirt. You can get some seriously cool gradients and photographic images this way.
- Cure the Ink: After printing, the ink needs to be set. This usually involves a heat press to make sure the design doesn’t wash out after the first laundry day.
It’s a pretty straightforward process, but the equipment itself is no joke. You’re not going to be printing custom shirts for your band with your old desk printer, sadly. For that kind of detail and quality, you’re looking at specialized DTG printers.
The beauty of this system is its ability to handle complex, multi-color designs with relative ease. It’s like having a digital artist directly paint onto your apparel. This makes it a go-to for small runs or when you need a truly unique graphic, like that awesome "C’mon Get Happy Retro Quail Family Cute Design" shirt you saw.
While it’s great for detail, it’s worth noting that the durability can sometimes be a bit less than, say, screen printing, especially with lots of washing. But for vibrant, custom looks, it’s a solid contender.
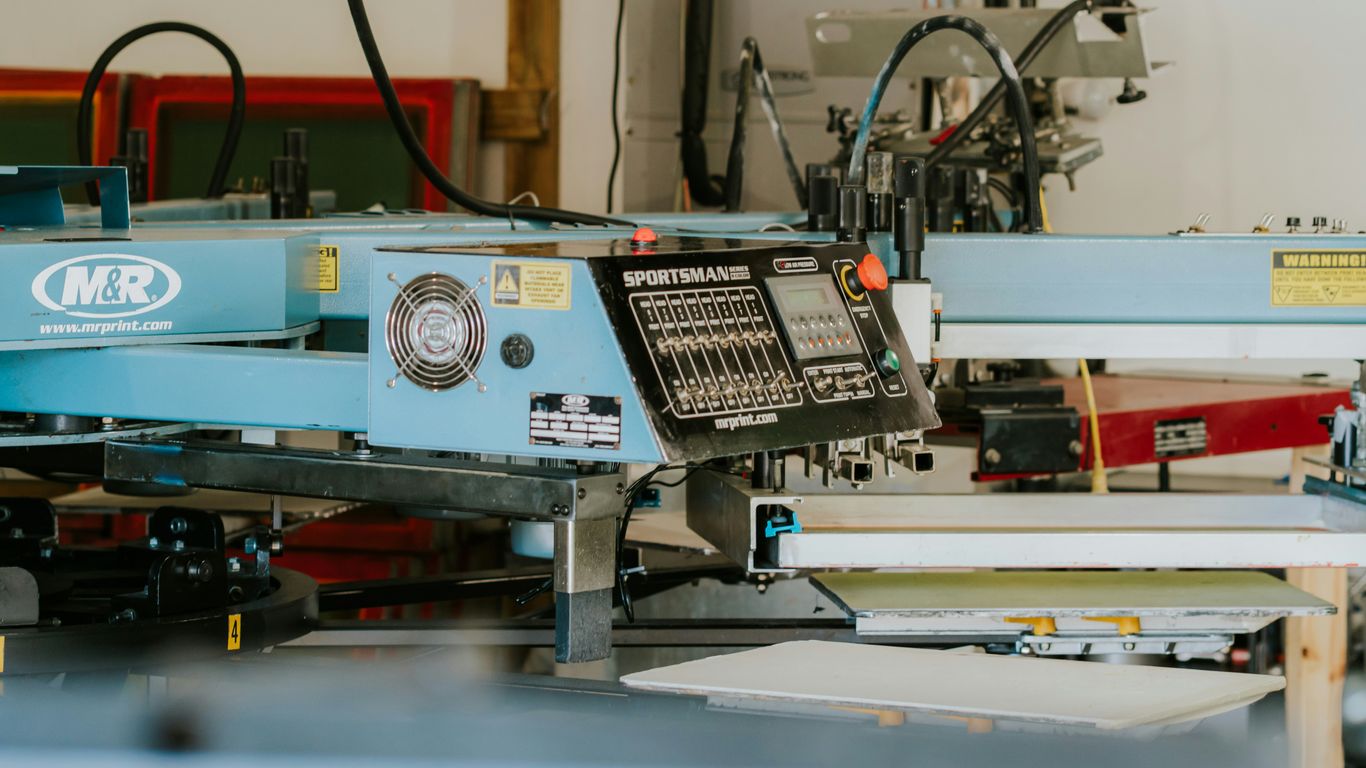
3. Screen Printing Press
Alright, let’s talk about the screen printing press. Think of it as the big, sturdy workhorse of the printing world. It’s the contraption that holds your screen in place while you, or a very patient robot, push ink through it onto your t-shirt. This isn’t some flimsy gadget; these presses are built to handle the repetitive action of printing, often multiple shirts at once. They come in all shapes and sizes, from simple, single-color setups to elaborate multi-station machines that look like they belong in a mad scientist’s lab.
The real magic happens when you’re printing in bulk, because that’s where this old-school method really shines. Setting up for one shirt might feel like a lot, but crank out a hundred, and suddenly the cost per shirt plummets faster than a dropped donut.
Here’s a quick rundown of why you might want to get friendly with a screen printing press:
- Durability: Prints from a screen press tend to stick around longer than your uncle’s questionable jokes at Thanksgiving. They can handle a beating in the wash.
- Vibrancy: The inks used are often thicker, meaning your colors pop with an intensity that’s hard to match.
- Cost-Effectiveness (for volume): As mentioned, the more you print, the cheaper it gets. Perfect for band merch or company swag.
Of course, it’s not all sunshine and perfectly aligned prints. The setup can be a bit of a bear, especially if your design has more colors than a rainbow threw up. Each color needs its own screen, and getting them all lined up just right is an art form. If you’re just printing one or two shirts, this might be overkill. But for serious production runs, a good screen printing press is your best friend. You can even build your own if you’re feeling adventurous, though maybe start with a simpler screen printing kit first.
Remember, screen printing is like a marathon runner – it might take a bit longer to get going, but it’s built for endurance and speed when it counts, especially for large quantities. It’s a tried-and-true method for a reason.
If you’re curious about how these things are put together, there are some pretty detailed guides out there on how to build a screen printing press. Just make sure you have a good workspace and maybe a friend who doesn’t mind getting a little ink on their hands.
4. Stencil Screen
Alright, let’s talk about the stencil screen, the heart and soul of screen printing. Think of it as the master blueprint for your t-shirt design. It’s basically a mesh stretched taut over a frame, and here’s the kicker: parts of that mesh are blocked off so ink only goes where you want it. This is how you get those crisp lines and solid colors that screen printing is famous for.
Creating these screens isn’t just slapping some goo on a net. For each color in your design, you need a separate screen. So, if you’ve got a four-color masterpiece, you’re looking at four screens. This is why screen printing can get a bit pricey for super complex designs, especially if you’re only printing a handful of shirts. It’s a bit like setting up a whole orchestra just to play one note – effective, but a lot of work upfront.
Here’s a quick rundown of what goes into making and using a stencil screen:
- Design Prep: Your artwork gets turned into a positive transparency.
- Emulsion Coating: The mesh screen is coated with a light-sensitive emulsion.
- Exposure: The transparency is placed over the screen, and it’s exposed to light. The light hardens the emulsion where the design isn’t, leaving the open mesh for ink.
- Washing Out: The unhardened emulsion washes away, creating your stencil.
- Printing: Ink is pushed through the open areas of the mesh onto the shirt using a squeegee.
Remember, the quality of your stencil screen directly impacts the final print. A poorly made screen means blurry lines, ink bleeding, or just a generally sad-looking shirt. It’s worth getting this part right if you want your design to pop.
For those looking to get their designs onto fabric, understanding the role of the stencil is key. It’s the gatekeeper of your ink, ensuring your hedgehog floral autumn t-shirt looks exactly how you envisioned it. The whole process of preparing and using these screens is detailed in guides on how to screen print T-shirts.
5. Squeegee Tool
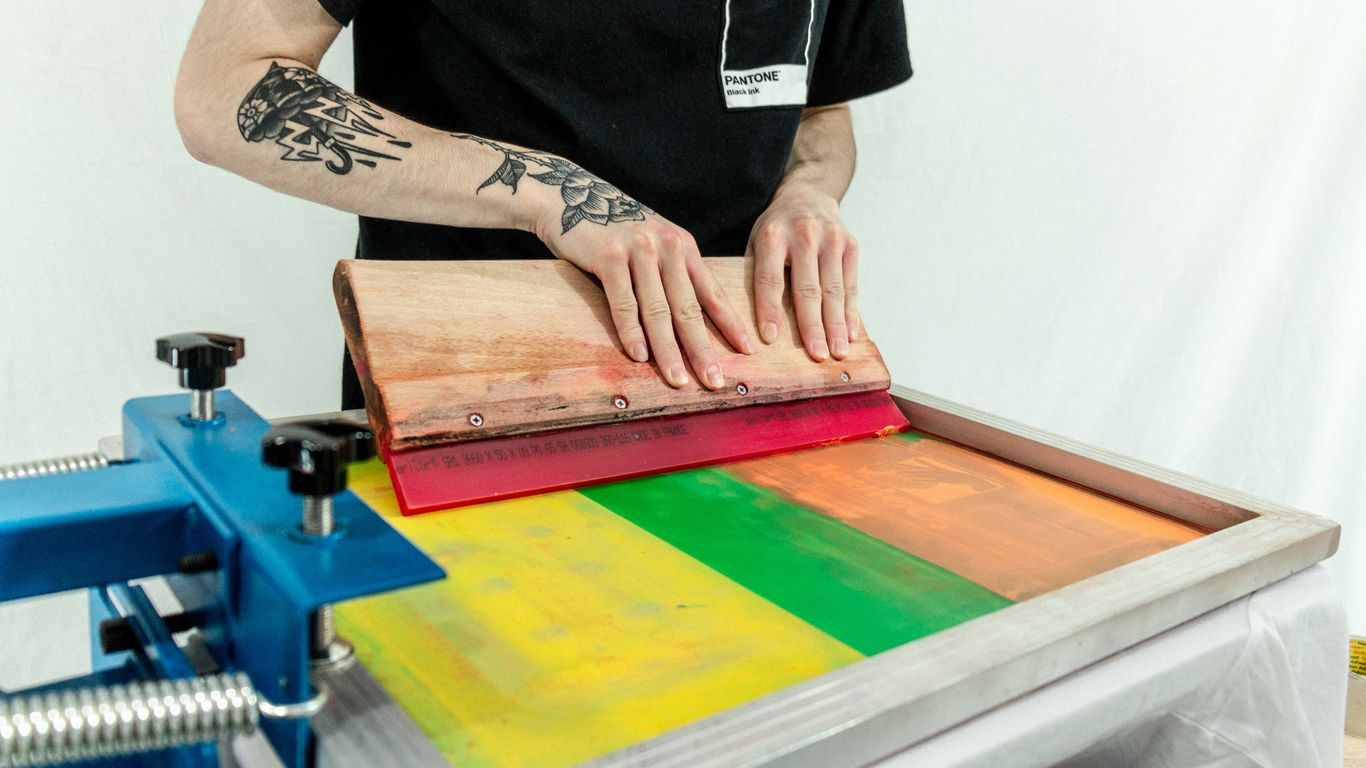
Alright, let’s talk about the squeegee. If screen printing were a band, the squeegee would be the drummer – totally essential for keeping the rhythm and getting the ink where it needs to go. This isn’t just some random piece of rubber on a stick; it’s a carefully crafted tool designed to push ink through your screen onto the t-shirt. Think of it as the ink’s personal chauffeur, making sure it arrives at its destination smoothly and evenly.
The main job of the squeegee is to apply even pressure, forcing the ink through the open areas of your stencil screen. Without a good squeegee, you’re looking at patchy prints, uneven ink coverage, and a whole lot of frustration. They come in different shapes and sizes, but the most common type has a rubber blade. The hardness of this rubber, called ‘durometer,’ really matters. Softer blades are good for lower mesh screens and thinner inks, while harder blades work better with higher mesh counts and thicker inks. It’s all about finding the right combo for your specific setup.
Here’s a quick rundown of why the squeegee is your printing buddy:
- Ink Application: It’s the primary tool for getting ink onto the fabric.
- Even Coverage: A good squeegee ensures the ink is spread uniformly across the design.
- Control: It gives you control over how much ink is applied and where it goes.
- Durability: A well-maintained squeegee can last a long time, making it a solid investment for any screen printer.
When you’re picking out a squeegee, you’ll find options with different blade profiles and hardness levels. For instance, a 70 durometer blade is pretty standard, but you might need a softer 60 for delicate work or a harder 80 for more robust prints. Some even have multi-durometer blades, like a 70/90/70, which offers a bit of everything. Getting the right silk-screening squeegee can seriously level up your print game.
Honestly, sometimes I feel like I spend more time fiddling with the squeegee angle and pressure than actually printing. It’s a delicate dance, and if you mess it up, your design looks like it went through a washing machine before it even got printed. But when you nail it? Chef’s kiss.
So, next time you see a perfectly printed t-shirt, give a little nod to the humble squeegee. It’s the unsung hero of the screen printing world, working hard to make your designs pop, whether it’s a simple graphic or a complex piece like this Chinese dragon t-shirt.
6. Water-Based Ink
Alright, let’s talk about water-based inks. These guys are like the chill, eco-friendly cousins in the ink family. Instead of sitting on top of the fabric like some of the other inks we’ll get to, water-based inks actually soak right into the fibers. Think of it like a really good dye job for your t-shirt.
The biggest perk? It feels amazing. You get a print that’s super soft and breathable. You know how some screen-printed shirts feel a bit stiff or plasticky? Water-based ink avoids that whole vibe. It becomes part of the shirt, so you don’t feel that weird, thick layer of ink when you’re wearing it. This makes it a fantastic choice if you’re going for comfort, especially for everyday wear or active shirts. It’s also generally better for the environment, which is always a plus, right?
Here’s a quick rundown of why you might pick water-based inks:
- Soft Hand Feel: Seriously, it’s like the ink isn’t even there. Super comfy.
- Breathability: Your shirt can actually breathe, which is nice on a warm day.
- Eco-Friendly: Usually made with fewer harsh chemicals compared to other options.
- Vibrant Colors (on light fabrics): They can produce really nice, bright colors, especially on lighter garments.
Now, they aren’t perfect for every situation. They can be a bit trickier to work with, especially on darker shirts, and sometimes require more passes to get the color just right. Plus, they might not be as super-duper durable as some other inks if you’re constantly roughhousing with your tee. But for a soft, comfortable, and more natural-feeling print, water-based ink is definitely worth considering. It’s a great option for that funny workout shirt you want to feel good in while you’re, you know, working out.
When you’re choosing inks, think about the final feel you want. Water-based inks are all about that soft, integrated look and feel, making the garment comfortable to wear all day long. It’s a different experience than inks that sit on the surface.
So, if you’re aiming for a print that feels like it’s always been part of the shirt, water-based ink is your go-to. It’s a solid choice for achieving that natural fabric feel.
7. Plastisol Ink
Alright, let’s talk about plastisol ink. If you’re looking to get a bunch of shirts printed, especially with designs that need to pop and last, plastisol is often the go-to. Think of it like the reliable workhorse of the t-shirt printing world. It’s basically a PVC-based ink that sits on top of the fabric rather than soaking in like some other inks.
This ink is pretty awesome because it doesn’t dry when exposed to air. Nope, it needs heat to cure. This means printers can take their sweet time setting up the design, making sure everything is perfect before hitting it with heat. This is a big deal for screen printing, where each color needs its own screen and careful alignment.
Here’s why plastisol is a fan favorite for many:
- Durability: These prints are tough cookies. They hold up really well to washing and wearing, resisting cracking and fading better than many other ink types. This is why you see it on so many band tees and merch.
- Vibrancy: Plastisol inks are known for their bright, opaque colors. They can cover darker fabrics really well, which is a huge plus if you’re not working with white shirts. You can get some seriously eye-popping designs with this stuff.
- Consistency: Because it needs heat to cure, you get a consistent result every time. This is super important when you’re printing hundreds or even thousands of shirts for an event or a business.
- Versatility: You can print on a wide range of fabrics, though it’s most common on cotton and poly-cotton blends. It’s also the ink used for plastisol heat transfers, which are a whole other ballgame of convenience.
The biggest perk? Plastisol ink is incredibly durable and offers vibrant colors, making it a solid choice for bulk orders and designs that need to last.
Now, it’s not all sunshine and rainbows. Plastisol inks can feel a bit thicker on the shirt compared to water-based inks, and they aren’t the most eco-friendly option out there. Plus, cleaning up the screens requires special solvents. But for sheer print quality and longevity on a large scale, it’s hard to beat. If you’re eyeing something like a funny cat meme shirt for a big group, plastisol might be your best bet for making sure everyone gets a good print.
While plastisol ink is fantastic for its durability and vibrant color output, especially on larger print runs, it’s worth noting that it doesn’t typically offer the same soft hand feel as water-based inks. The ink sits on top of the fabric, creating a slightly raised texture that can be quite noticeable, especially on detailed prints. This is a trade-off many accept for the longevity and color vibrancy it provides, making it a popular choice for apparel printing where lasting impact is key.
8. Heat Press Machine
Alright, let’s talk about the heat press machine. Think of it as the ultimate tanning bed for your t-shirts, but instead of getting a golden glow, you’re getting a permanent design. This bad boy uses a combination of heat and pressure to basically fuse your design onto the fabric. It’s not just for slapping on a pre-made transfer; it’s the magic wand that makes a lot of other printing methods actually stick.
So, why would you even bother with one of these? Well, if you’re doing anything with heat transfers, whether it’s from a vinyl cutter or a special inkjet print, the heat press is your best friend. It ensures that the design transfers evenly and stays put, unlike trying to iron it on with your grandma’s old steam iron (trust me, I’ve seen the results, and they’re not pretty).
Here’s a quick rundown of what makes it tick:
- Even Pressure: This is key. A good heat press distributes pressure uniformly across the entire design area. No more splotchy transfers!
- Precise Temperature Control: You can dial in the exact heat needed for your specific transfer material. Too hot, and you scorch it; too cold, and it won’t stick. It’s a delicate dance.
- Consistent Timing: Each press gets the same amount of time under heat and pressure, leading to repeatable results. This is super important if you’re making more than one shirt.
Using a heat press is pretty straightforward once you get the hang of it. You lay your shirt down, place your transfer on top, close the press, and wait for the timer to do its thing. It’s way less fussy than trying to wrangle an iron and a prayer. You can find some great beginner guides on how to get started with a heat press machine here.
It’s not just for the DIY crowd, either. Many small businesses rely on heat presses for custom orders because they’re efficient for smaller runs. You can get a decent one without selling a kidney, and it opens up a whole world of customization possibilities. If you’re serious about making custom tees that don’t peel off after the first wash, a reliable heat press machine is a non-negotiable piece of equipment. Check out some of the steps involved in using one here.
9. Vinyl Cutter
Alright, let’s talk about the vinyl cutter. Think of this thing as a super-precise, high-tech X-Acto knife for fabric designs. It’s basically a computer-controlled blade that slices through sheets of colored vinyl like a hot knife through butter. You design something on your computer – maybe a killer band logo or a funny slogan – send it to the cutter, and voila, it carves out your design. This is where the magic happens for simple, bold graphics and text.
So, how does it work? It’s pretty straightforward, actually. You get your design ready in some graphic software, then you load a sheet of heat transfer vinyl (HTV) into the cutter. The machine follows your digital blueprint, cutting out the shape. After it’s done, you have to ‘weed’ out all the extra vinyl bits you don’t want, leaving just your design on a clear backing. Then, you slap that onto your t-shirt and hit it with a heat press. Easy peasy, right? Well, mostly.
Here’s the lowdown on what vinyl cutting is good for:
- Bold Text and Simple Shapes: Think logos, numbers for jerseys, or single-color graphics. It cuts super clean lines.
- Durability: Once it’s pressed on, vinyl is tough. It can handle a good amount of washing without peeling off or fading too quickly.
- Small Runs and Customization: If you only need a few shirts, or want to personalize each one with a different name, vinyl is a solid choice. It doesn’t have huge setup costs like screen printing.
- Variety of Finishes: You can get vinyl in all sorts of looks – matte, shiny, glitter, metallic, even fuzzy puff vinyl. It adds a cool dimension.
But, it’s not all sunshine and rainbows. If your design looks like a Picasso painting with a million tiny details and colors, vinyl might make you want to pull your hair out. It’s not the best for super intricate stuff, and layering multiple colors can get a bit fiddly. Plus, the vinyl itself sits on top of the fabric, so you can sometimes feel a bit of a thickness, which isn’t always the comfiest, especially on a hot day. Still, for a lot of jobs, especially if you’re just starting out with your own t-shirt business, a vinyl cutter is a fantastic tool to have in your arsenal.
The main thing to remember with vinyl is its strength lies in its simplicity. It’s not trying to be DTG or screen printing. It does its own thing really well: creating durable, eye-catching graphics that are perfect for personalization and bold statements. Just don’t ask it to replicate a photograph.
10. Sublimation Paper
Alright, let’s talk about sublimation paper. This isn’t your average printer paper, folks. Think of it as a special delivery vehicle for your awesome designs, but it only works with a very specific type of ink – sublimation ink. You print your design onto this paper, and then, with a good dose of heat and pressure (hello, heat press machine!), the ink turns into a gas. This gas then kinda… sinks into the fabric. It’s pretty wild.
The biggest thing to remember is that sublimation is basically married to polyester. If you’re dreaming of printing on cotton tees, this paper is going to leave you high and dry. It really shines on light-colored, high-polyester content fabrics. Trying to sublimate on a dark shirt is like trying to paint a black wall with a light gray crayon – it just doesn’t show up.
Here’s a quick rundown of what makes sublimation paper special:
- It’s a one-way ticket for ink: The ink goes from the paper to the fabric and becomes part of it. No sitting on top like a sticker.
- Vibrant colors are its jam: You get super bright, almost glowing colors, especially on white or light shirts.
- It’s all about the polyester: Seriously, if it’s not at least 65% polyester (and ideally 100%), you’re probably going to be disappointed.
So, when is this paper your best friend? Think sports jerseys, activewear, or anything that needs a super durable, full-color print that won’t crack or peel. It’s great for detailed graphics that need to look sharp.
Just remember, this paper is designed for a specific process. It’s not a magic bullet for every t-shirt printing job. You need the right ink, the right fabric, and the right heat press to make it work. Otherwise, you’ll just end up with a weirdly printed piece of paper and a sad, blank shirt.
If you’re looking for something that works on cotton or darker shirts, you might want to check out other methods like DTG or screen printing. But for those polyester dreams, sublimation paper is where it’s at.
So, Which T-Shirt Printing Method Wins?
Alright, we’ve waded through the nitty-gritty of DTG and screen printing, and hopefully, your brain isn’t as scrambled as mine after trying to assemble IKEA furniture. Look, there’s no single ‘best’ method here, unless your ‘best’ means ‘the one that doesn’t make me want to pull my hair out.’ If you’re printing a zillion shirts for a marathon, screen printing is probably your jam. But if you’ve got a wild, colorful design and only need, like, five shirts for your cat’s birthday party? DTG is your buddy. Ultimately, pick the one that makes the most sense for your project and your sanity. Now go forth and print some awesome tees!
Frequently Asked Questions
What’s the main difference between DTG and screen printing?
Think of DTG like a fancy inkjet printer for shirts – it’s great for detailed, colorful designs, especially for small orders. Screen printing is more like using stencils for each color and pushing ink through. It’s awesome for big batches of shirts with simpler designs and lasts a really long time.
Which printing method is best for a single custom t-shirt?
For just one shirt or a few, Direct-to-Garment (DTG) printing is usually the way to go. It doesn’t have the high setup costs that screen printing does, so it’s way more affordable for small jobs.
Can screen printing handle lots of colors in a design?
Screen printing can handle lots of colors, but each color needs its own screen. This means designs with many colors can get pretty expensive and take more time to set up. DTG is often better for super colorful or detailed artwork.
Which method makes the print last the longest?
Screen printing generally creates the most durable prints. The inks used are often thicker and bond really well with the fabric, making them tough against washing and wear. DTG prints are great, but they might fade a bit faster over time.
Is there a printing method that’s good for both small and large orders?
It really depends on the design! For detailed, colorful designs on small orders, DTG is fantastic. For large orders of simpler designs, screen printing becomes more cost-effective. Heat transfer and vinyl cutting can also be good options for smaller runs with specific needs.
What if I want a really detailed, photo-like design on my shirt?
Direct-to-Garment (DTG) printing is your best bet for that. It uses special inkjet technology to put detailed images and a wide range of colors directly onto the fabric, almost like printing a photo onto a t-shirt.